Mac users, rejoice! The Elgato Virtual Desktop scene is no longer just for Windows lovers. Whether you’re a content creator, streamer, or just someone who loves turning your Mac into a productivity machine, Elgato Virtual Desktop can give your workflow a fun and flexible boost.
TLDR:
Elgato Virtual Desktop lets you stream and control your Mac’s desktop for use in virtual cameras and custom layouts—great for presentations, Twitch streams, and Zoom calls. It works best when paired with apps like OBS and Elgato’s own software like Stream Deck. The setup is simple: install the software, configure your desktop inputs, and go live! Mac support is newer, so a few things might look different, but it’s totally doable.
What is Elgato Virtual Desktop?
In simple terms, Elgato Virtual Desktop lets you capture and share your Mac’s screen in a way that looks way cooler than just screen sharing. It outputs your screen as a virtual camera. This means you can use it in Zoom, Teams, OBS, or any other software that supports webcams.
Think of it like this: Your Mac’s screen is now a Hollywood movie scene. You control the spotlight.
Why Would You Use It?
There are loads of exciting reasons. Here are a few:
- Stream your desktop for creating tutorials, live coding, or gaming.
- Level up your Zoom meetings with overlays and custom visuals.
- Combine screens and webcam feeds in creative layouts using OBS or Streamlabs.
Whether you’re hosting a virtual event or showing your parents how to unsubscribe from emails (again), it just makes things look cooler.
What You’ll Need
Before diving in, here’s your simple shopping list:
- A Mac running macOS Monterey or newer
- Elgato software (specifically Camera Hub and optionally Stream Deck)
- OBS Studio or streaming/video app that supports virtual cameras
- Optional: Elgato Stream Deck for ultimate control
Step 1: Install the Elgato Virtual Camera Plugin
First things first. You’ll need Elgato’s software to start sending your desktop to other apps as a camera source.
- Go to the Elgato Website.
- Head to the Downloads section and select Camera Hub for macOS.
- Install the app. During the process, it will ask you to install the Virtual Camera plugin—say yes!
Once installed, restart your Mac to ensure everything kicks in smoothly.
Step 2: Open Camera Hub
Find the app called Camera Hub in your Applications folder. Launch it!
If you have an Elgato webcam like the Facecam, it’ll show up automatically. But even if you don’t, there’s something magic here—it lets you create custom scenes, overlays, and settings.
The real fun begins now.
Step 3: Enable Virtual Camera
In Camera Hub, look for the toggle that says “Start Virtual Camera.” It’s usually found at the bottom or side of the app. This makes the output of Camera Hub (including your screen and overlays) available as a webcam source in other apps.
Now when you open Zoom, OBS, or any similar app, you’ll see “Elgato Virtual Camera” listed as a webcam. Boom!
Step 4: Add Virtual Desktop Source in OBS
If you’re using OBS Studio, here’s where we add the real magic.
- Open OBS Studio.
- In the Sources panel, click the “+” button.
- Select Display Capture and name it something cool like “Main Mac Screen.”
- You’ll now see your Mac screen mirrored in OBS.
From here, you can add overlays, webcam windows, animations, and widgets. It all gets wrapped into one sleek virtual camera feed.
Step 5: Use It in Your Favorite Apps
Here comes the “Aha!” moment. Once your virtual camera is active, go to Zoom, Google Meet, Microsoft Teams, or wherever you do video calls. Under the video settings, change the camera to Elgato Virtual Camera.
Voila! Your custom stream layout—complete with your Mac’s desktop and fun tweaks—is now your webcam.
Step 6: Extra Credit with Stream Deck
If you’ve got a Stream Deck, this is where it gets awesome.
- Use buttons to switch scenes, toggle overlays, or mute audio on the fly.
- No need to fumble with windows while streaming—just tap to make magic happen.
- Elgato provides downloadable Stream Deck profiles that work with Camera Hub and OBS.
Tips and Troubleshooting
- Low FPS? Check your resolutions. Try lowering your canvas resolution in OBS or closing other apps.
- Virtual Camera not showing? Double check you enabled it in Camera Hub and that your app supports virtual cams.
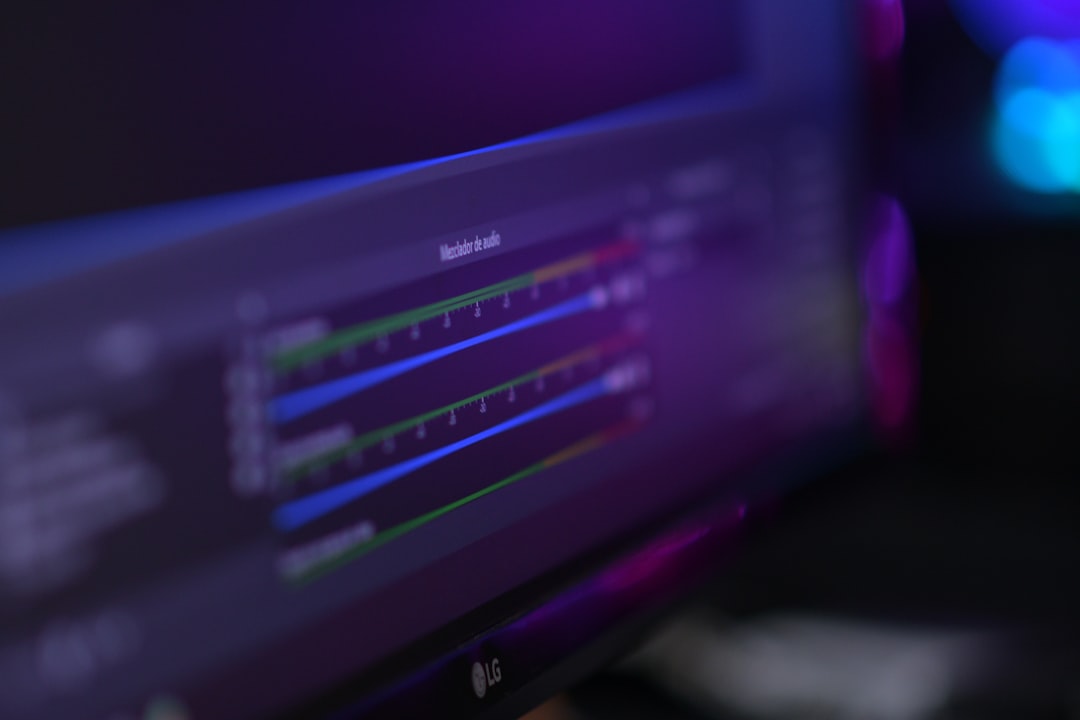
- Audio missing? Remember, virtual cameras don’t carry audio. You need to route audio separately through apps like Loopback or OBS’s audio mixer.
Use Cases That Will Spark Ideas
- Tutorial videos: Show how to code, illustrate, or cook using screen capture overlays.
- Weekly meetings: Use creative layouts to display agendas and webcams at the same time.
- Streaming games: Share desktop games and your webcam feed in split-screen glory.
- Virtual conferences: Level up your slides by embedding yourself inside your presentation layout.
Final Thoughts
Using Elgato Virtual Desktop on a Mac might sound a little techie at first. But once it’s set up, it’s like stepping into a command center of creativity. Whether you’re teaching, streaming, chatting, or showing off your new puppy during a call, Elgato makes it all look pro.
And yup, you can still wear pajama bottoms—no one will ever know.
Go on—light up your desktop like a digital rockstar.