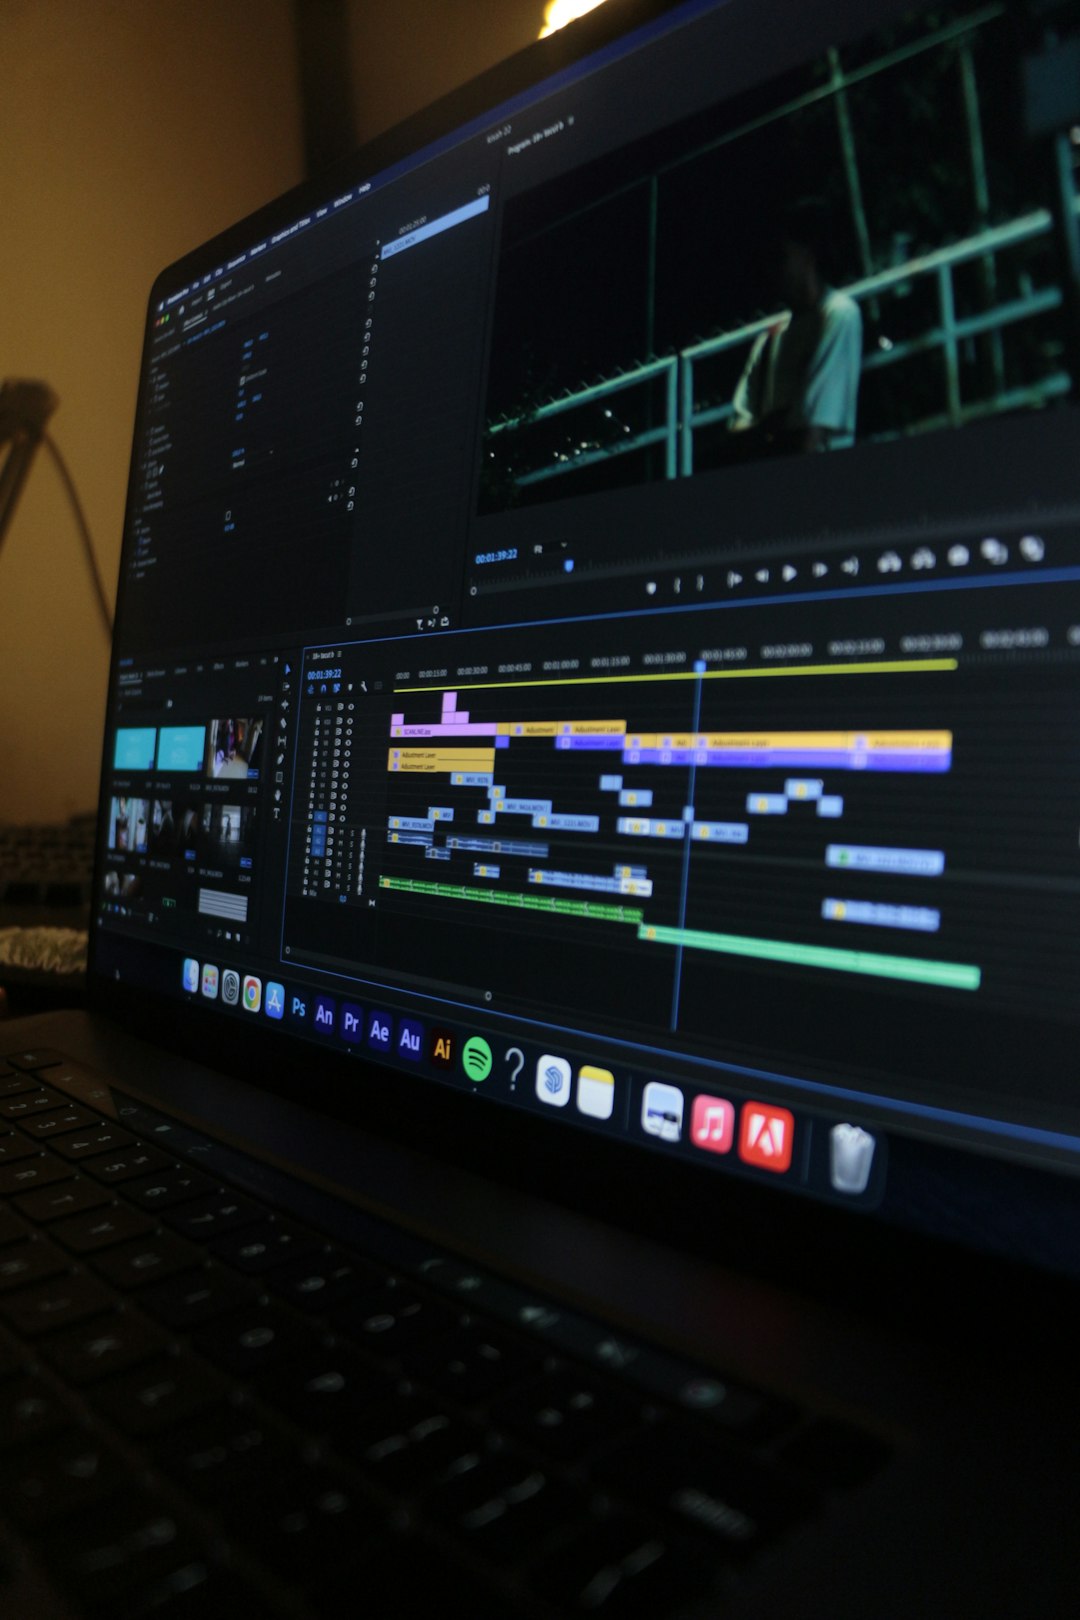
Sony’s professional camcorders and mirrorless cameras have become a staple among videographers and filmmakers for their incredible image quality and reliability. What makes Sony even more production-friendly is their support for proxy workflows — a way to dramatically improve editing performance while maintaining high-resolution master files for the final export. If you’re using Final Cut Pro, Apple’s powerful video editing software, understanding how to use Sony proxy files can save you time and elevate your post-production workflow.
In this article, we’ll explore how to take advantage of Sony-generated proxy files in Final Cut Pro, walking you through every step and offering practical tips to make the most of this efficient editing method.
What Are Proxy Files and Why Use Them?
Proxy files are low-resolution duplicates of original high-resolution video files. Their smaller size and lower data rate allow for smoother playback and faster editing, especially on older or less powerful machines.
When you’re working with 4K or higher resolution footage, editing can become sluggish — even on robust machines. Proxy files provide a way to edit faster without sacrificing quality because Final Cut Pro lets you switch between proxy and original media instantly.
Sony’s Native Proxy File Capability
One of Sony’s key advantages is that many of their cameras — like the FX3, A7S III, FX6, and FX9 — can actually record high-quality proxies in real time alongside the full-resolution footage. These proxies are small in size but retain timecode and metadata from the main clips, which is crucial for syncing and relinking during editing.
Unlike transcoding proxies inside Final Cut Pro after importing, using native Sony proxies can save hours of exporting time. They’re ready to go the moment you import your media.

Benefits of Using Sony Proxy Files in Final Cut Pro
Before diving into the workflow, let’s highlight why more editors are leveraging native proxies from Sony cameras:
- Speed: No need to spend time generating proxies in Final Cut Pro.
- Accuracy: Proxy files retain all metadata from source clips, ensuring seamless relinking.
- Storage: Smaller file sizes allow for efficient storage and backup strategies.
- Portability: Use just the proxy files on a laptop or external drive to edit on the go.
Preparing Your Sony Camera for Proxy Recording
Before heading into Final Cut Pro, you’ll need to ensure your Sony camera is set up to generate proxies. Here’s a general guide, though specific models may differ slightly:
- Go into your camera’s menu.
- Navigate to your media settings and find the option to enable Proxy Recording.
- Set the proxy format — often something like 1280×720 H.264 or similar.
- Make sure to use a dual-slot SD card configuration: one for full-res files, the other for proxies.
Once proxy recording is enabled, every time the camera records main media, it simultaneously creates matching proxies — ready for Final Cut Pro.
Importing Sony Proxy Files into Final Cut Pro
With media and proxy files ready, it’s time to import them into Final Cut Pro. Unfortunately, Final Cut Pro doesn’t automatically recognize Sony’s proxy files during import — but with the right approach, it’s an easy process.
- Organize Your Files: On your storage drive, make sure the proxy and original media are inside the same folder structure. The final cut can link proxies manually, so keeping file names and hierarchies intact is helpful.
- Open Final Cut Pro: Launch your library or create a new project.
- Import Original Files: Use the Import Media option to bring in the high-res clips first.
- Manually Link Proxies: Once media is in, select your clips in the browser, right-click, and choose Transcode Media. Even though it says “Transcode,” you’ll get an option to either create or “Attach Existing Proxy Files”.
- Attach the Correct Proxies: Point Final Cut Pro to the folder where your Sony proxy files are stored. The software will match them using filenames and metadata.
When successfully attached, you can switch to using only proxy media for smooth playback and performance during the editing phase.
Switching Between Original and Proxy Media
One of Final Cut Pro’s standout proxy features is how easily you can swap between media resolutions. Once your proxies are attached:
- Go to the View menu at the top right of your timeline window.
- Select “Media Playback”, then choose from:
- Optimized/Original: For full-quality media
- Proxy: For smoother performance
This switch updates in real-time and affects only the playback — so you’ll always export using the original high-resolution files regardless of editing mode.

Best Practices for Working with Proxy Files
If you’re committed to using proxy files for a more efficient workflow, here are a few best practices to keep in mind:
- Keep Proxies and Originals Together: Use folders and naming conventions that match across both types of files. This makes relinking much easier.
- Create Proxies In-Camera: When possible, shoot proxies directly in-camera to avoid hours of transcoding later.
- Use Smart Collections: Organize your proxies and original footage using Final Cut Pro’s Smart Collections to locate and manage assets faster.
- Test Before You Edit: Always spot check proxies for sync and visual clarity before beginning major edits.
What to Do If Proxies Don’t Link Automatically
Sometimes, Final Cut Pro may not recognize Sony proxy files immediately. If that’s the case, there are a few step-by-step solutions:
- Ensure filenames between proxy and full-res files match exactly.
- Check that timecode and resolution match the original media specs.
- Use Clip Info to verify metadata.
- If necessary, relink manually via “Relink Files” under the File menu.
Still not working? You can always rewrap the Sony proxies using third-party tools like EditReady or DaVinci Resolve to make them more Final Cut Pro-friendly.
Exporting with Full-Quality Media
When you’ve completed your edit using the proxy files, Final Cut Pro will automatically revert to original media during export — as long as it has access to the original full-res source files.
If your original files are on a different drive, ensure that drive is connected. If proxies are the only media available, Final Cut will notify you with a warning before attempting to export.
Conclusion
Using Sony proxy files in Final Cut Pro is a brilliant way to streamline your editing process without sacrificing image quality. By leveraging proxies recorded directly in-camera, you minimize transcode time, reduce storage requirements, and speed up your creative workflow.
As media resolution continues to rise and project timelines shrink, proxy editing isn’t just a convenience — it becomes essential. With Sony and Final Cut Pro working together, you’ll have all the tools you need to stay efficient, creative, and ahead of the curve.


