If you’re doing any business online, whether blogging, dropshipping, vlogging, etc., you must abide by one of the first rules: don’t waste any time or space you have with content that’s not engaging.
In essence, every part of your site has to be interesting and engaging to visitors in one way or another. This applies to your landing page, the about us page, and even the under-construction page.
Now, you may not have given much much tough about making your coming soon page special or about making one at all, but such a page can be more beneficial than you think.
What Is an Under-Construction Page
An under-construction page is a temporary landing page you’ll be using before launching your site, product, or service. Such a page is used to generate hype for whatever you’re releasing and inform the users about upcoming projects. Still, it is also there to elicit engagement from the visitor.
Engagement can mean anything from registering for an event to signing up for your newsletter. All in all, an under-construction page is intended to inform your reader about upcoming events as well s prompt them to action so that they can be quite handy.
In this article, we’ll show you how to create a killer under construction or coming soon page using the UnderConstructionPage plugin, as it’s one of the most versatile ones out there and comes with many templates and customization options that you’ll easily emulate what we do no matter the type of business you’re in.

However, before we get into the process itself, here are a few tips on what this page should contain to succeed.
Tips for Creating a Great Under-Construction Page
- Keep it simple – Don’t make the page too overwhelming. Create a nice inviting design, but don’t clog it up by adding too many elements, which will divert the user’s attention from what you want them to do
- Include only one form or CTA – Similar to our previous tip, if you have multiple choices such as go to the about us page, the FAQs, etc., it’ll distract people from the action they should perform; for example, fill out your email signup form
- Make it responsive – Over 50% of all web users use their phone to browse, so you’ll be losing out on a massive chunk of your audience should you choose to ignore this
- Add a countdown – This helps to build tension, but it also lets the user know exactly when they can expect your new product or service to drop
Creating a Killer Under-Construction Page
So, as mentioned before, we’ll be doing this using UnderConstructionPage and showing exactly what you can do with it and how quick the process really is.
Getting Started
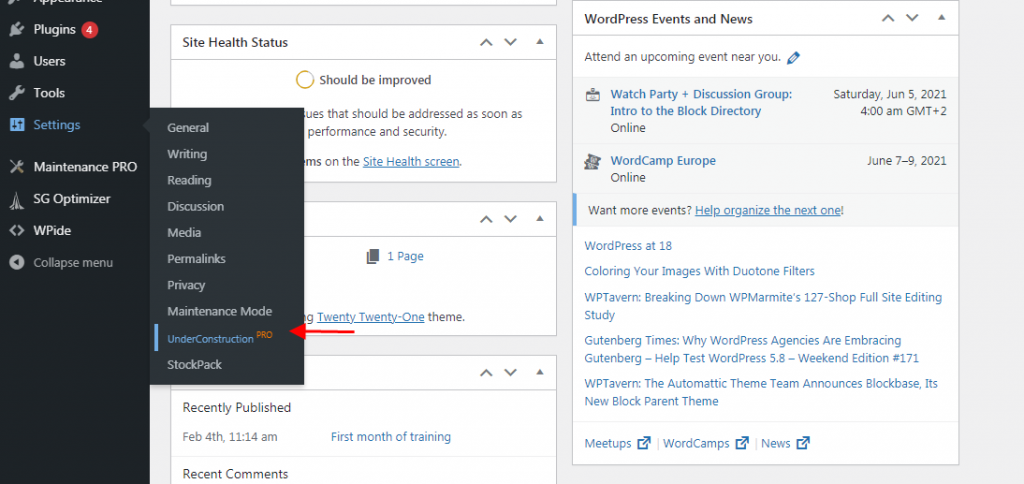
To access the templates and the editor, navigate to “Settings” and “UnderConstruction” on your WP dashboard.
After that, go to “ Appearance” and then “Templates”. This is going to open the gigantic template gallery included with this plugin. There are so many templates to choose from, ranging from travel themes and food blogs all the way to digital marketing agencies and sports shops.
You can also search for a specific template in the search bar, which can come in handy considering their sheer amount. If you’re not sure which one to choose, just by looking at the small icons, preview your faves, and pick one afterward.
Once you find a template of your liking, click on “Install”, and after a few moments, there should be an option to create a page based on the template.
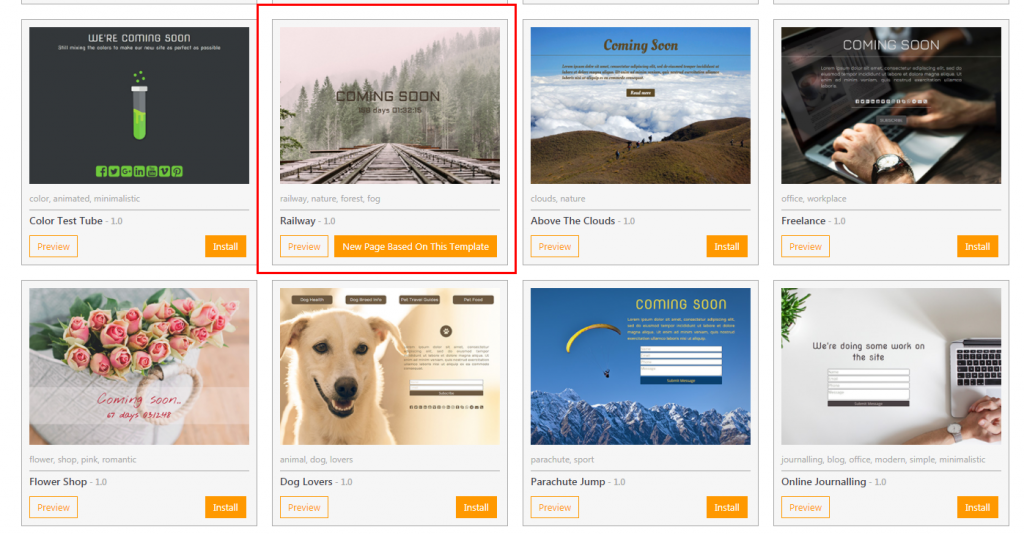
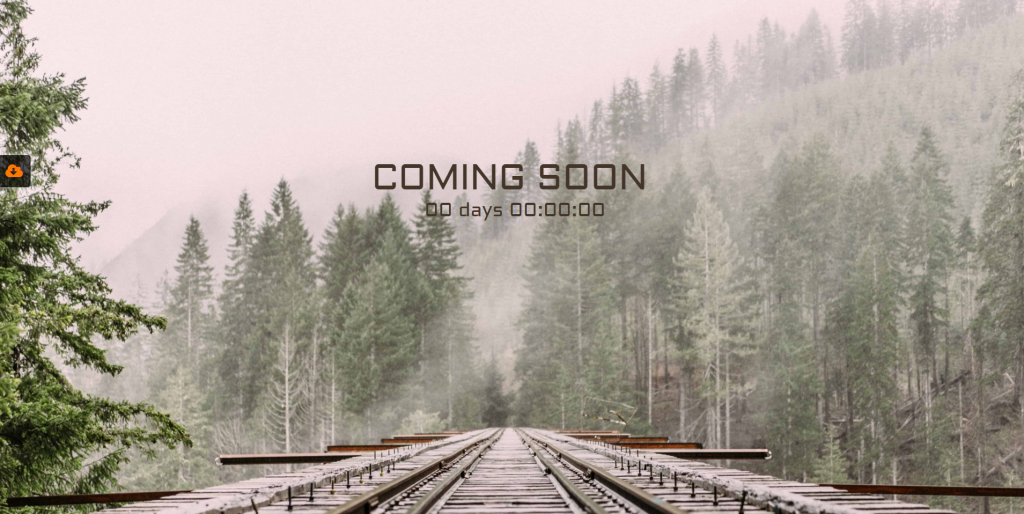
We chose the Railway theme for a travel blog, so let’s click on the create option and get started.
Customization
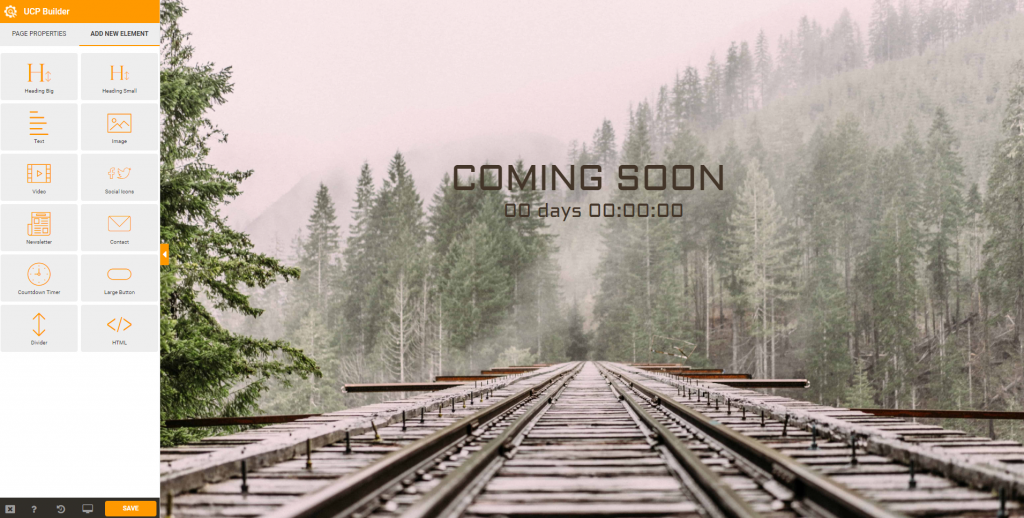
Okay, so now we’re getting to the fun part, designing your page. Upon opening the editor, you should see your template and all the possible customization options on the right side. Before we start editing the template, let’s get a few things out of the way.
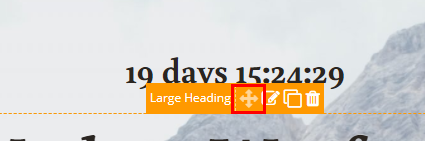
To add any element you can see on the right side, simply click on it and drag it to its proper place. The same goes for relocating elements; click on them, find this button, and drag.
You can, of course, leave this as is and add your company or service name and set up a countdown, but we’ll play around with it a bit to create the perfect page for our new travel blog “Modern Wayfarers.” The first thing to change is the background image to something a little more fitting.
Just click on “Page Properties” and find the “Upload” feature. Here you’ll be able to either use an already saved image, maybe something you took yourself, add one of UCP’s original images, or search the entire Unsplash database with over 2 million images at your disposal.
After finding the perfect background, simply upload, and it’ll automatically scale to fit the template. From there, hover over any element you want to change, and you’ll have options to move it, delete it, make it smaller or bigger, etc.
Let’s add the name of our blog to the template. To do this, hover over the “Large Header” element, drop it where you want it to be, and then adjust the text by changing the font, color, scale, etc. Then, lets’ add another smaller header below the blog title to tell our users what it is.
To modify anything related to the text, click on the right edit icon that appears when you hover over it. An additional editor will open on the side, allowing you to customize your texts and change the color using a color slider.
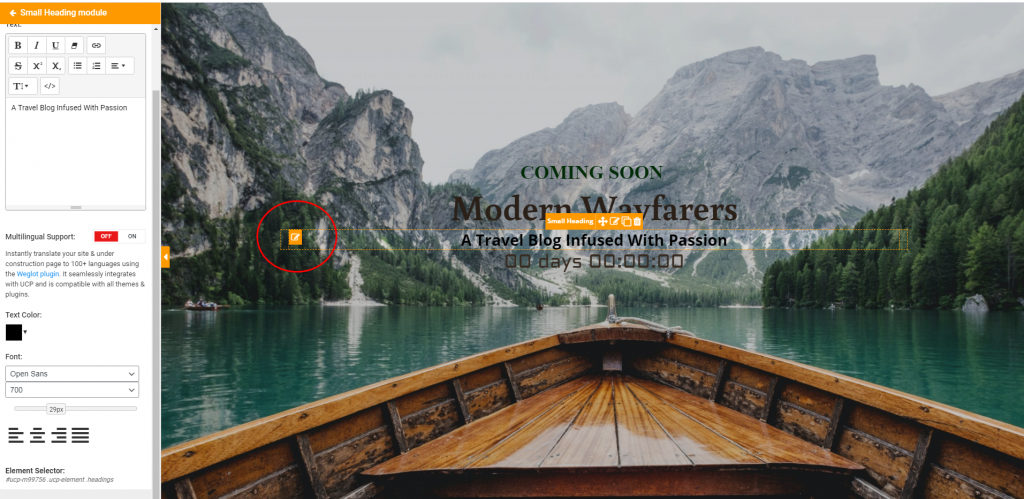
There are many fonts to choose from, that it took us a while to pick the perfect one and match it to one of our main texts. You can also make it larger by using a slider below the fonts and adjust it fully to complete the image conjured up in your head. To make sure your font colors match, you can always copy the color code and simply paste it to another location.
Moreover, the customization of the countdown timer works pretty much in the same way; the only difference is that it allows you to set the endpoint of the countdown. So, after most of the text changes were made, this is what the page looks like.
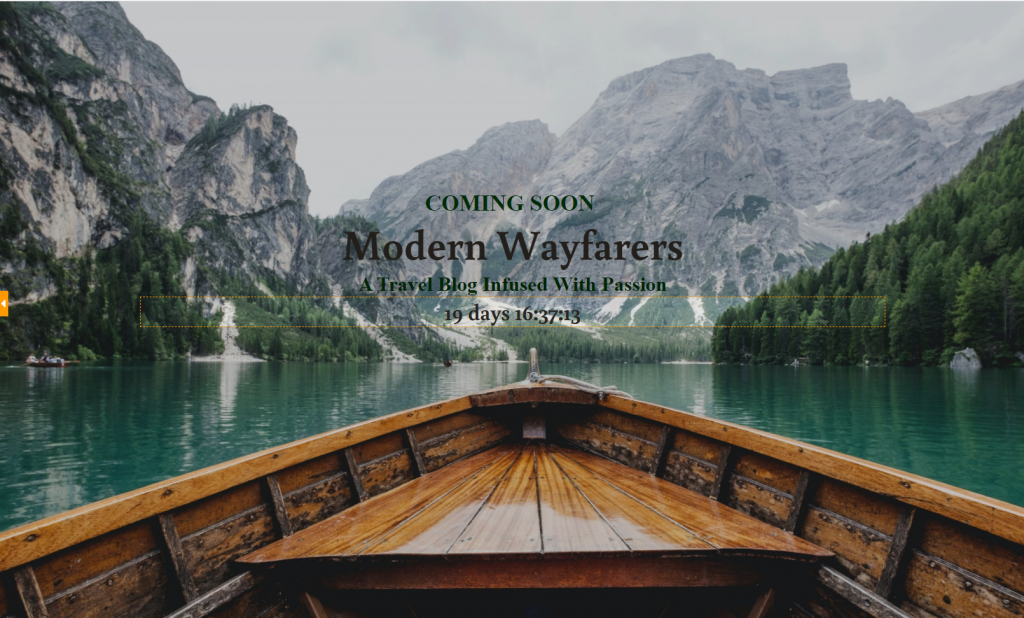
The default divider on top makes the text seems too low on the page, and to make it look better, we’ll slide it up a little bit. Click on the edit icon of the divider element, and adjust the height using a slider.

It looks better already! There’s a lot more you can play around with, like cloning an element, moving it to a different location, or deleting it if you don’t want it there. But don’t worry; even if you mess up, you can revert the changes using a button in the bottom left corner.
We like what we’ve done so far, so it’s time to add social buttons and an email sign-up form where our visitors can subscribe. To add socials, simply navigate to “Add New Element” and locate the “Social Buttons” option. Click on it, and drag until it’s where you want the elements to be.
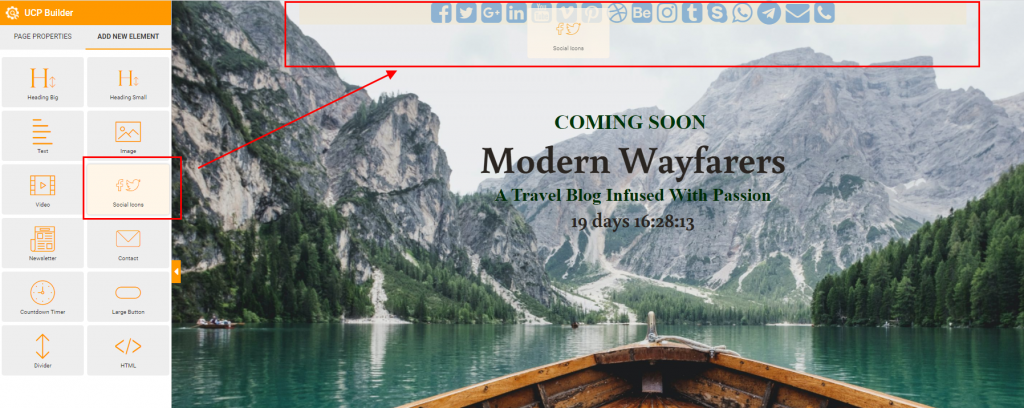
Once you drag them to the desired place, they’ll look like this.

Now, you’re free to customize them like you did the other elements, make them bigger, smaller, change the color and remove all of the socials you’re not connected to by removing the check in the check box.
You’ll also put your handles in the provided text boxes so that your visitors can click directly on the icon and connect to your socials.

We wanted to put a contact form on our under-construction page, but it looked a bit too clunky, so we simply clicked the trash icon at the end of the element and got rid of it. It’s as simple as that.

Instead, we opted for a button with a link to a subscriber form. The default version doesn’t match our vision, so we customized it to look the best it possibly can.
By opening up the editor, we were able to change the text of the button and add the URL, change the color, background color, font, size, and text alignment.
We copied the same color code we used in the title, matched the font, changed the background color to fit into the template, and enlarged it a bit to make sure it was noticeable enough. Once all the tweaking was done, we ended up with this.

After the deed was done, it appeared as though we broke one of our own rules, and there were too many elements on a single page, so we deleted the “ under construction” header; there’s already a timer in place, so users know it’s yet to come and isn’t finished yet. The formatting was also a bit off, so we moved the countdown timer above the title.
After that, the only two things we did were adding two small dividers between the headings to make the texts seem a bit more separate. Let’s see the difference between our starting point and the final product.
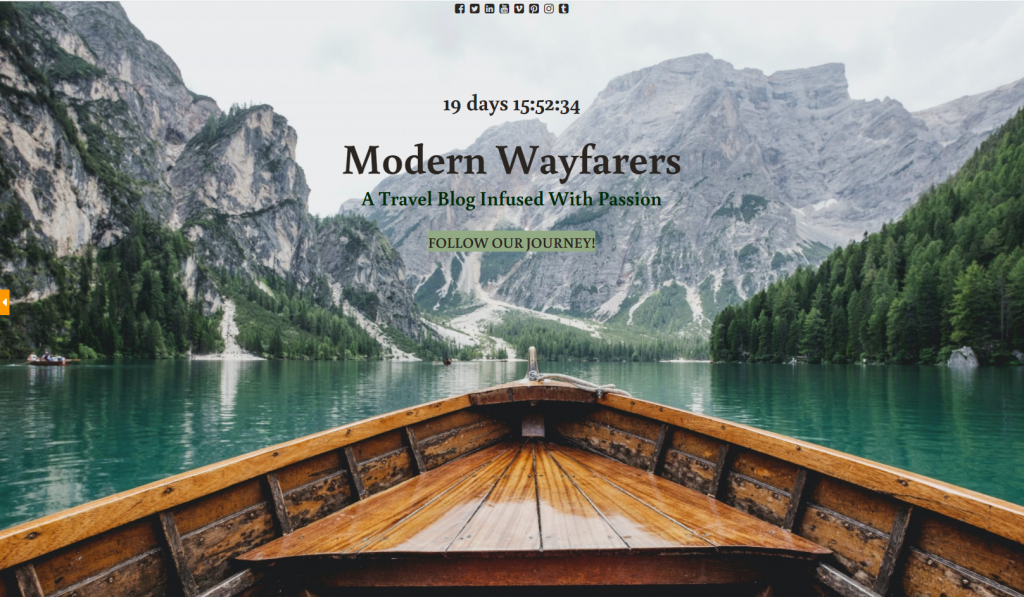
Now, you might not be the biggest fan of some of the creative liberties we took in customizing this template, but you can see how much UCP allows you to tailor anything to your liking. The difference between the two is staggering, and this is the same template.
Furthermore, we left all of the elements centered on the page because it worked well with our background. You don’t have to do this and are completely at liberty to move them wherever you desire.
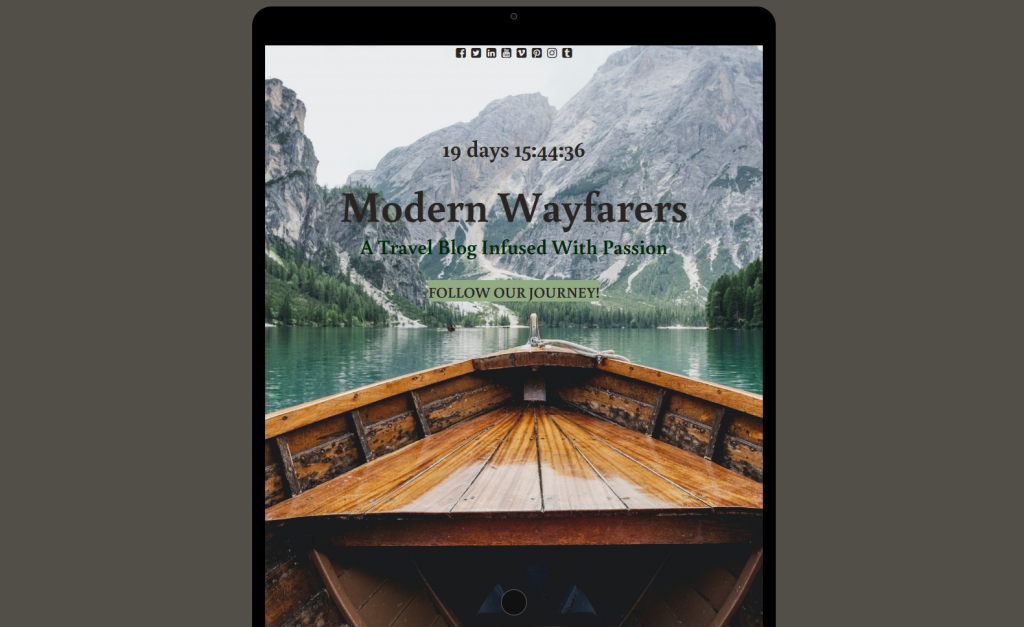
Before we conclude the main part of this article, it’s definitely worth mentioning that this builder also allows you to preview the page on different devices, including mobile and tablet.
So, everything you create is responsive, and just in case you’re not sure about something, there’s always a way to check while you’re building.
Ready to Create a Fantastic Under-Construction Page
UCP is a really versatile page builder and allows you to put your creativity first. You can go wild if you’re hyper-focused on design or just slightly modify the template if you prefer efficiency overall.
Both actions will bring about the same result as your page will have a clear call-to-action, an announcement that piques interest, and a countdown so everyone knows when you’re dropping your new service or product.
The plugin is so easy to use both for professionals and beginners alike – no need to worry that you won’t be able to do this on your own. Now that your design skillset is complete, you’re ready to go ahead and create your very own under-construction page that’ll slay the game.