Creating custom blocks is one of the most exciting parts of modding in MCreator. While many beginners start with simple 1x1x1 cube blocks, experienced modders often want to go beyond Minecraft’s default size limitations. Custom block sizes allow creators to design furniture, decorations, machines, and detailed structures that feel more dynamic and realistic. This tutorial explains how custom block sizing works in MCreator and how modders can implement it effectively in their projects.
TLDR: Custom block sizes in MCreator are achieved by adjusting block hitboxes and models rather than changing the actual grid size of the block. By editing bounding boxes, using custom JSON models, or enabling non-full cube settings, creators can make slabs, pillars, thin panels, or oversized decorative blocks. Proper configuration ensures smooth collision, lighting, and placement behavior. Understanding these tools allows modders to design more immersive and professional-quality Minecraft mods.
In Minecraft, every block technically occupies a 1x1x1 space in the world grid. However, that doesn’t mean the visible or interactive portion of the block must fill that entire cube. MCreator allows users to define custom shapes inside that cube, letting them manipulate how the block looks and behaves. By adjusting collision boxes, rendering settings, and model files, creators can simulate entirely different block sizes.
Understanding Block Size vs. Block Space
Before modifying dimensions, it’s important to understand a key concept: blocks always occupy one grid space in Minecraft’s engine. What changes is:
- The visual model size
- The collision box
- The selection bounding box
- The hitbox interaction area
This means a “half-sized” block is not actually smaller in terms of grid logic. Instead, it visually and physically occupies a smaller portion of its assigned cube.
Method 1: Using the Built-In Block Editor (No Coding Required)
For most users, the simplest approach is to modify the block properties directly inside MCreator’s interface.
Step 1: Create a New Block
- Open MCreator.
- Click + New Mod Element.
- Select Block.
- Name your block and choose basic properties.
Step 2: Adjust the Bounding Box
Inside the block editor, look for the Bounding Box or Block Shape settings. Switch from “Full Cube” to a custom configuration if available.
You can now define:
- Min X, Y, Z
- Max X, Y, Z
These values typically range from 0 to 16 (Minecraft uses 16 units per block). For example:
- A half-slab might use Y values from 0 to 8.
- A thin plate might use Y values from 0 to 2.
- A pillar could use X and Z values between 4 and 12.
This method is ideal for making:
- Slabs
- Thin carpets
- Custom pressure plates
- Panels
Step 3: Disable “Is Full Cube”
If your version of MCreator includes the option, disable:
- Is Full Block
- Opaque Cube
This ensures lighting behaves correctly and prevents visual glitches.
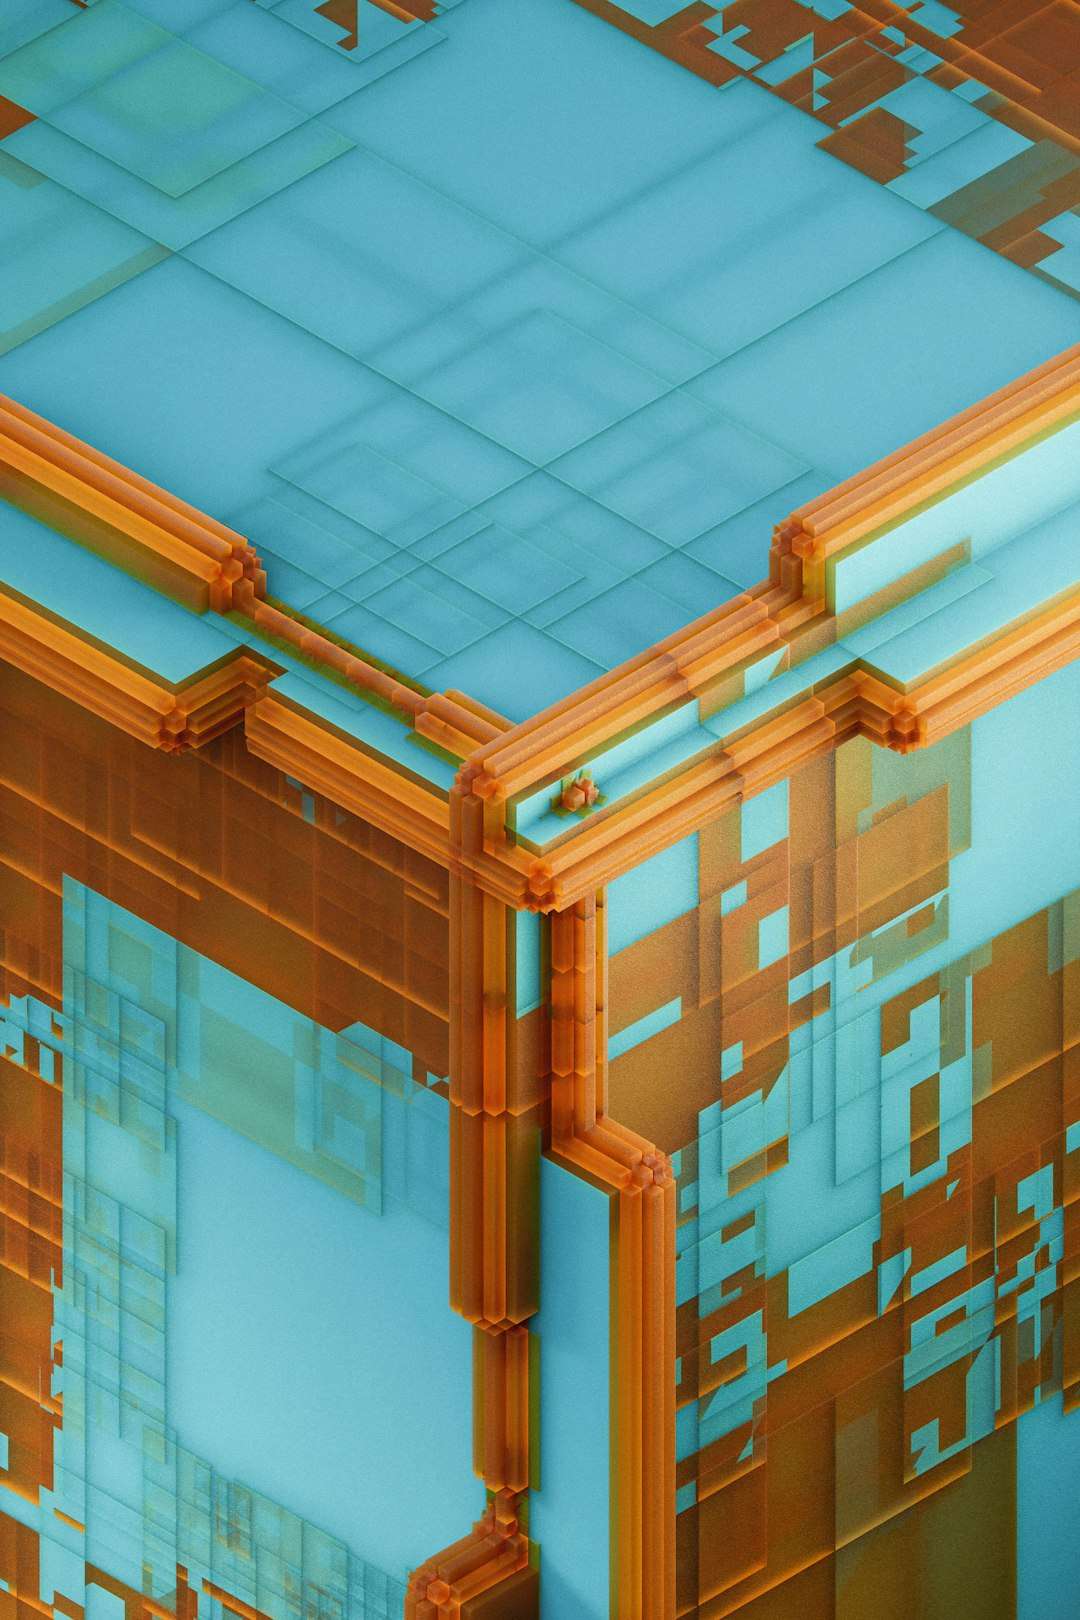
Image not found in postmetaMethod 2: Creating a Custom Block Model
For more advanced designs, modders use custom 3D models. This approach gives significantly greater control over the block’s visual appearance.
Using Blockbench for Model Creation
Blockbench is commonly used alongside MCreator to design custom block shapes.
- Open Blockbench.
- Create a Java Block/Item Model.
- Design within the 16x16x16 workspace grid.
- Export as a JSON model.
When designing, remember:
- The workspace represents a single Minecraft block space.
- Anything outside that 16-unit cube will not render properly.
- Rotation and pivot points affect in-game placement behavior.
Importing Into MCreator
- Return to MCreator.
- Open your block.
- Select Custom Model instead of “Cube.”
- Upload your exported JSON file.
After importing, you must ensure the collision box matches the visual model. Some versions of MCreator require manual collision box setup separately from the model file.
Method 3: Multi-Block Structures for Oversized Blocks
What if you want a block that is bigger than 1x1x1?
Technically, Minecraft does not support a single block exceeding its grid boundaries. However, modders simulate larger blocks using:
- Multi-block structures
- Invisible helper blocks
- Structure generation procedures
For example, a 2x2x2 machine would actually be eight connected blocks placed simultaneously.
How to Create Multi-Block Placement
- Create the main visible block.
- Create additional invisible placeholder blocks.
- Use a procedure triggered “When block placed.”
- Automatically place the additional blocks around it.
This method requires careful removal logic so that breaking one section removes the entire structure.
Common Custom Size Examples
1. Thin Decorative Panels
- X: 0 to 16
- Y: 0 to 16
- Z: 7 to 9
Creates a wall-mounted panel that appears paper-thin.
2. Low Tables
- X: 2 to 14
- Y: 0 to 6
- Z: 2 to 14
This gives the table margin from the edges and a shorter height.
3. Centered Pillars
- X: 6 to 10
- Y: 0 to 16
- Z: 6 to 10
Creates a narrow vertical beam.
Handling Lighting and Transparency
Custom-sized blocks often create lighting glitches if settings are not adjusted properly. To avoid issues:
- Disable Opaque Cube if the block is not full size.
- Adjust Light Opacity values.
- Use correct Render Type (Cutout or Translucent for glass-like blocks).
Incorrect lighting settings may result in:
- Black shadows on edges
- Light leaking through solid parts
- Z-fighting flickering
Collision vs. Visual Shape Differences
A common mistake is making the visual model smaller but leaving the collision box unchanged. This results in invisible barriers around the block.
Best practice:
- Align collision box tightly with the visual design.
- Test walking, jumping, and entity interactions.
- Verify multiplayer synchronization if applicable.
Performance Considerations
Highly complex models or improperly configured multi-block systems can reduce performance.
To optimize performance:
- Minimize cube count in Blockbench.
- Avoid unnecessary transparent textures.
- Keep procedures efficient and simple.
While custom sizes add realism, excessively detailed micro-blocks can slow rendering if spammed across large maps.
Testing Your Custom Block
Each time a size adjustment is made:
- Run the client test environment.
- Place multiple instances of the block.
- Test placement against walls and other blocks.
- Break and replace to ensure correct deletion behavior.
Attention to detail during testing prevents serious bugs later in development.
Advanced Tip: Directional Custom Blocks
Some custom-sized blocks look different depending on rotation. To implement this:
- Enable block facing direction.
- Create rotated variants in Blockbench.
- Configure rotation logic inside MCreator.
This is useful for:
- Benches
- Sofas
- Machinery
- Wall decorations
Final Thoughts
Custom block sizing in MCreator opens significant creative possibilities without requiring advanced Java coding. By mastering bounding boxes, model editing, and proper rendering settings, modders can move far beyond standard cube designs. Whether creating realistic furniture, advanced machinery, or decorative details, understanding how Minecraft handles block space is the key. With testing and optimization, custom-sized blocks can look seamless and professional inside any mod pack.
FAQ – MCreator Custom Block Size
1. Can a block actually be larger than 1x1x1 in Minecraft?
No. Every block occupies one grid space. Larger blocks are simulated using multi-block structures.
2. Why does my custom block still act like a full cube?
You likely did not modify the collision or bounding box settings. Check that “Full Block” or “Opaque Cube” is disabled.
3. Why is lighting broken on my smaller block?
Lighting issues often occur when a non-full block is still marked as opaque. Adjust lighting and render type settings.
4. Do custom-sized blocks affect performance?
Simple custom shapes have minimal impact. However, complex models and excessive transparency can reduce performance if overused.
5. Do I need coding knowledge to change block size?
No. Most sizing adjustments can be done within MCreator’s visual interface. Advanced multi-block systems may require procedure logic.
6. What tool is best for creating advanced custom models?
Blockbench is widely used for designing and exporting custom block models compatible with MCreator.
7. Can mobs interact properly with custom-sized blocks?
Yes, as long as the collision box is configured correctly. Always test entity movement around custom shapes.